In darktable, selective editing was a long awaited feature. Our development version now allow limiting module effects to a region of the image.
Remember the old times, the red light of the darkroom, the smell of the developing bath …
Remember when you were using your hands or a small piece of cardboard to achieve some masking …
Now you can do that in darktable.
example
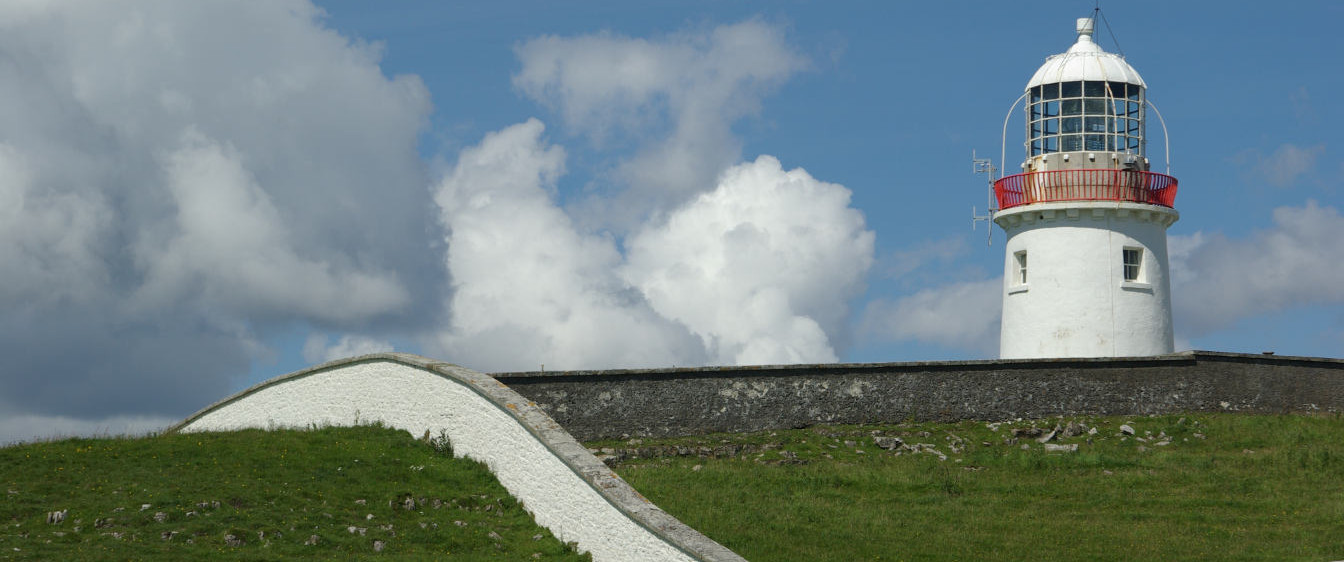
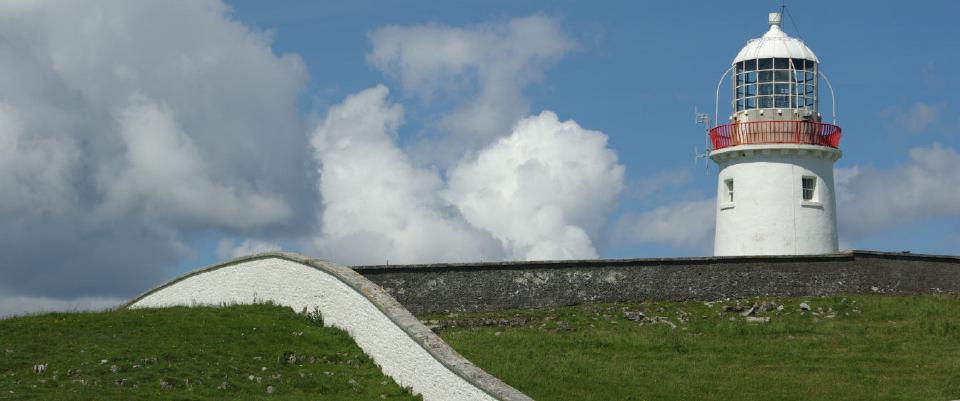
let take this photo as an example.
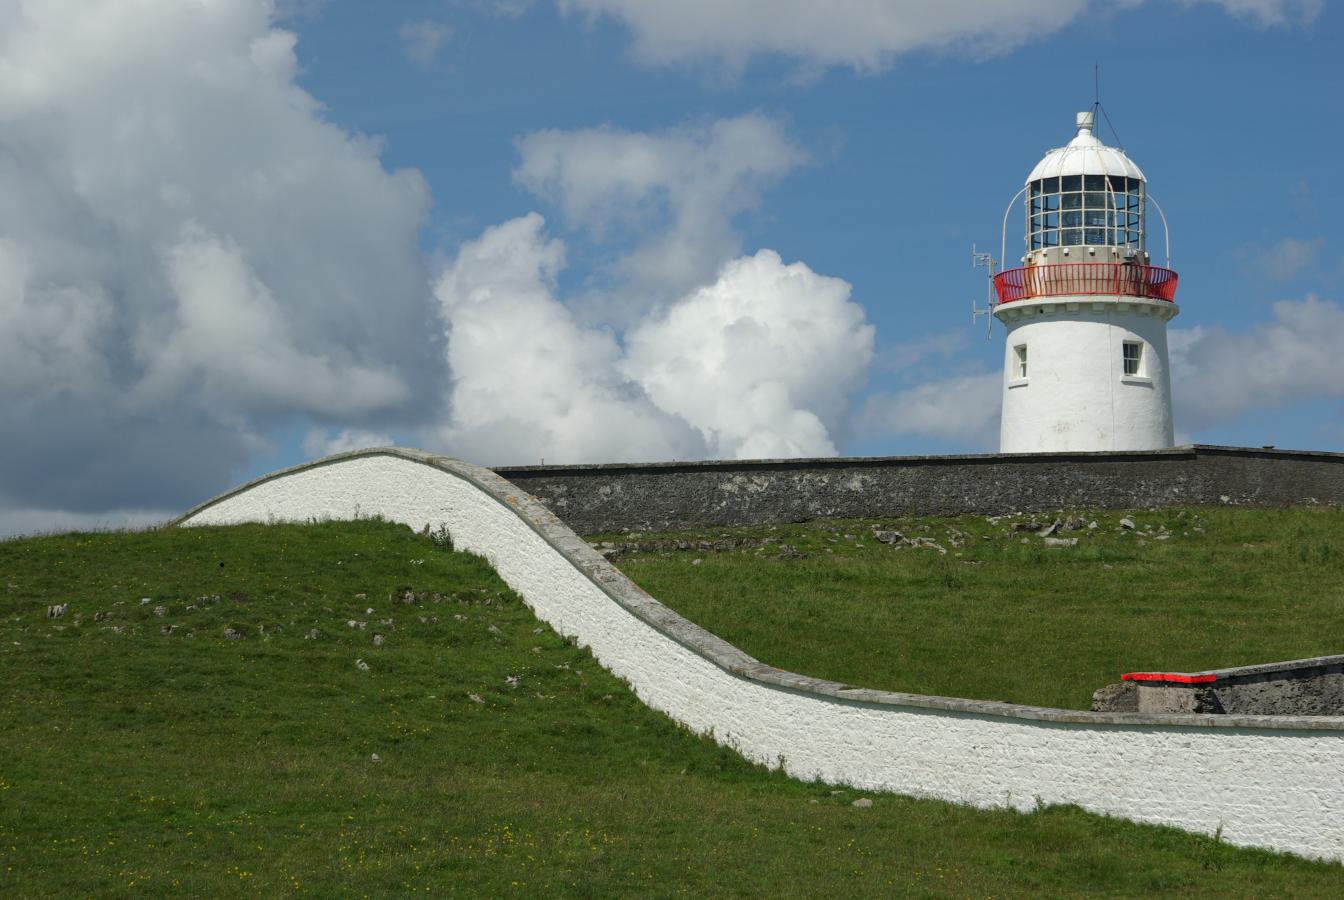
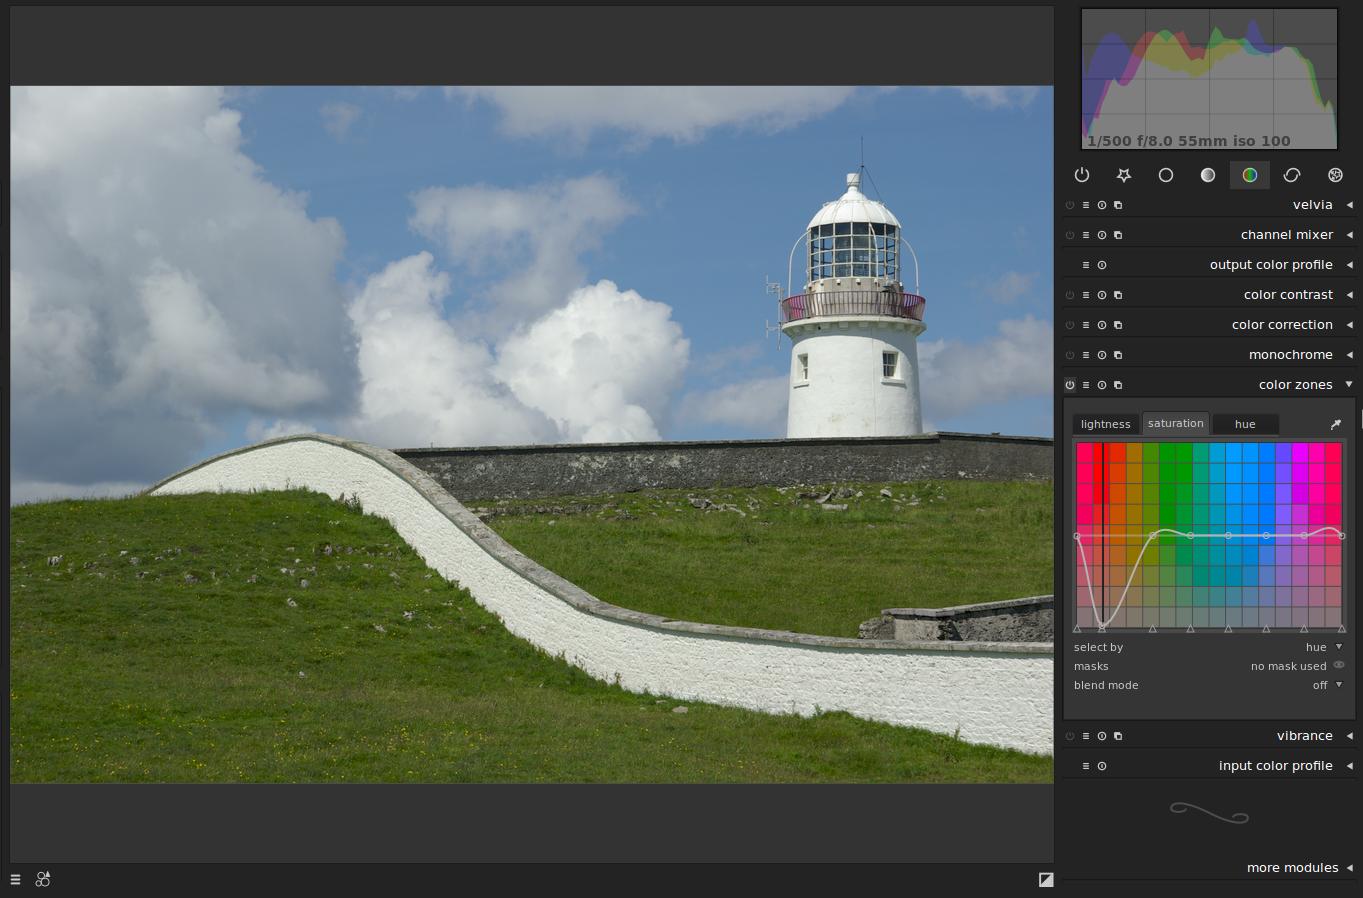
Here, we will get rid of the fluorescent orange wall. We will use the color zone module to desaturate reds, but doing so would also desaturate the lighthouse railings. We will use masks to avoid that.
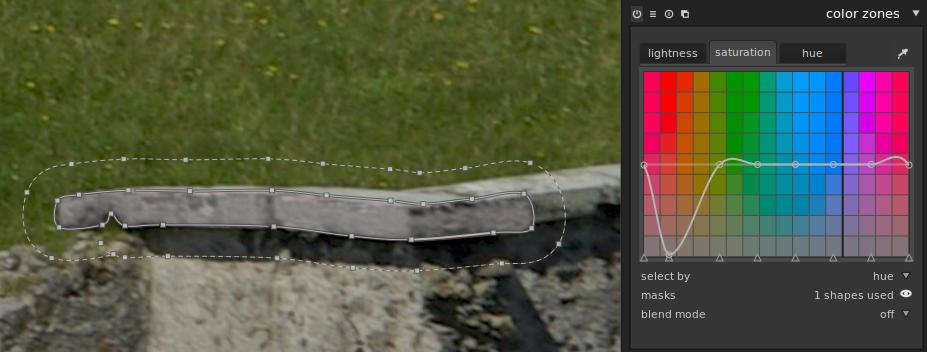
we now add a masks to limit the effect of the module to the wall only. Using the masks combobox from the module, we add a curve shape:
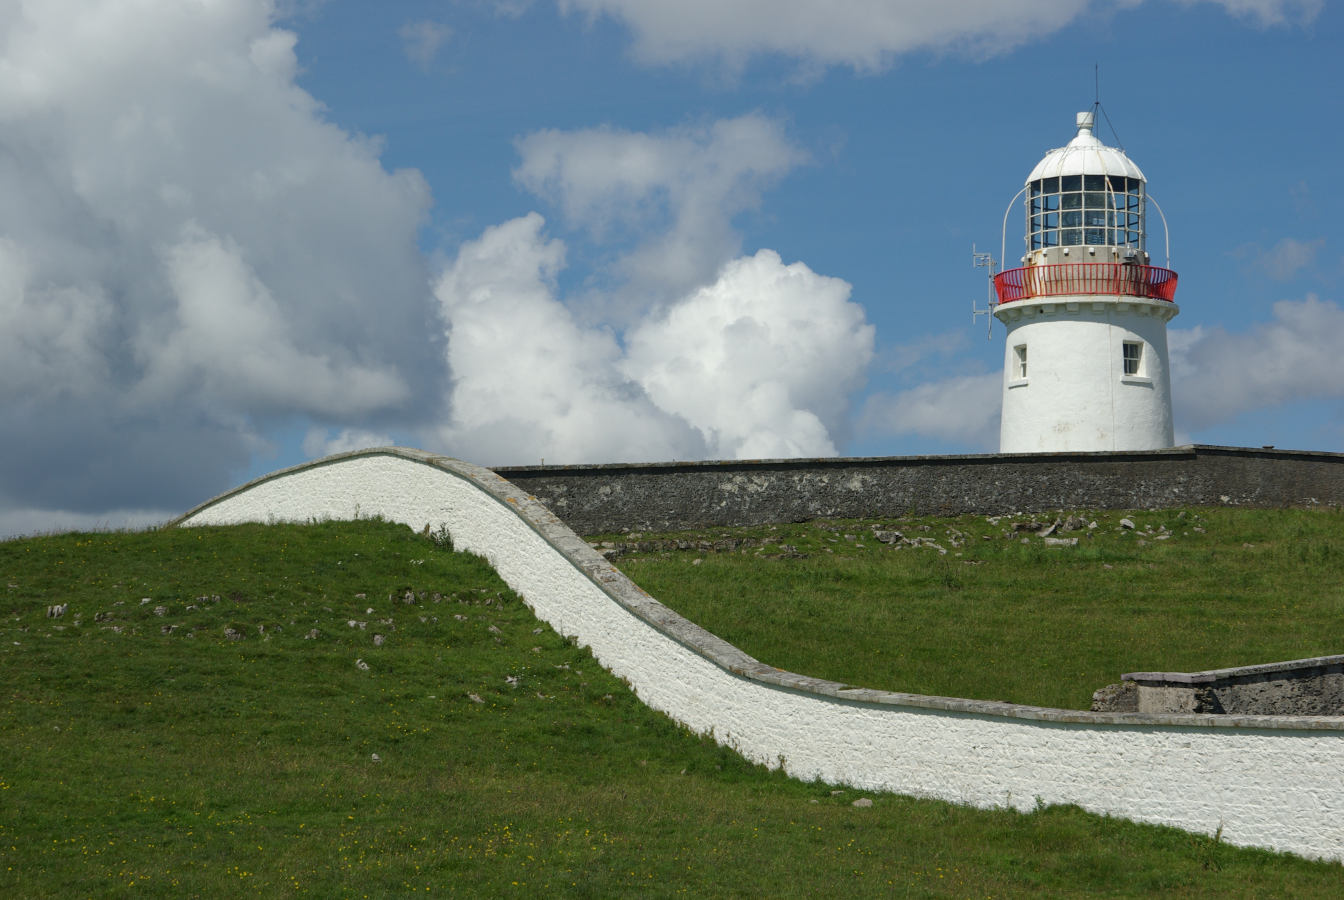
And here is our final image:
masking interfaces
The masks combobox inside modules let you add new shapes, reuse existing shapes. But if you want to perform more complex tasks, you will have to use the masks manager which is in the left panel:

Right-clicking on a shapes will open a popup menu with all the possible actions.
editing shapes
Two shapes types have been implemented: the simple circle (with feathering borders) and the more powerful curve shape. Here’s some tips to help you in shape creation:
circle & curve:
- you can change the radius of the circle by using the mousewheel within the circle.
- you can set the border size by using the mousewheel between the circle and the border
curve:
- you can add control points by shift+clicking on an existing curve
- you can remove corners by right-clicking on them
- clicking on an existing control point will select it, allowing you to move it and making control-hooks appear that allow you to change the sharpness of the point
- right-clicking on a control hook will reset it.
- when creating a shape, you can press ctrl while adding control-points to add a sharp corner directly
- you can use the scrollwheel to change the border width of the whole shape
- the border width can also be set separately at each control point using the available anchors.
Advanced tips
- combining masks and blendif offers a whole new world of possibilities
- when a shape is assigned to a module, a group of shapes is automatically created. You can use that group to build complex combinations of shapes
- shapes can be moved and combined within a group using boolean operators: union, intersection, difference and exclusion
- opacity can be set per-shape using ctrl+wheel
Cloning
The spot removal module is not limited to circles anymore. It can use any shape for advanced cloning.
Warning
masks are only available in the development branch of darktable. We wanted to share with you the awesome features that are coming but installing the development version of darktable isn’t a trivial thing. Do not use this on production work.
Masks still have some known limitations
- there is no brush painting. masks are currently limited to curves
- very complex, self-intersecting curves might not render correctly
Note: again, great thanks to Jeremy Rosen for his help in the writing of this blog post



Anyway, AMAZING work. Darktable has become the best opensource RAW editor and one of the best OSS in their category, like Firefox in web browsers, VLC in video players, XBMC in mediacenters, etc.
Congratulations and THANK YOU for your work and effort. Is so beautiful that a creative tool this great is free and available to everyone.
Many thanks for that much wanted feature !
it should be 1.4 (1.3 is the devel one)
Thanks for this. ;)
Darktable is now a great alternative to commercial purpose like LR, so I could back from osx to my ubuntu ...
I wonder, though, how many will abide the warning, considering this is a feature that so many have waited on ;-)
This new mask feature is almost too much awesomeness. I wonder: with this feature in place, will full retouching and clone brushes become possible? Seems like they'd use a similar infrastructure to reconcile selective operations with non-destructive history-based editing. In any case, I'll jump to current svn right after I've cleared my current work queue. Thanks heaps for creating and sharing darktable!
Could you give a little more detail on using a mask, for those of us getting comfortable with Darktable ?
Thanks !
I tried it. I used two masks to remove the high-voltage
column and two masks for the levels in the eyes. Unfortunately, near the small masks with little blurring (eyes) when exporting artefacts. You can view the full-size source here: https://storage5.static.itmages.ru/i/13/0422/h_1366632896_3854079_d41d8cd98f.jpg and full-size result here: http://storage1.static.itmages.ru/i/13/0422/h_1366632810_7606849_d41d8cd98f.jpg. You will see a bright strip on the nose, yellow pixel at the left -top side of the left eye and the colored pixels around the right eye :-(
I'm going to play with some RAW images in AfterShot Pro, and then in Darktable. If the results are equal (or, better, of course), then I'm going to be a Darktable fanboy.
The mask feature work already really well. The problem is that when I select a object it would be great if it could "snap" to contrasted part objects so it could be easy to select a mountainrange, leafes, faces, eyes and so on. I also hope it would be possible to mask straight lines, paint layer masks and paint mask lines. But so far it's a good beginning with this tool.
http://s020.radikal.ru/i712/1304/52/69aa59e6f6b5.jpg
Thank you very much ...Team darktable...
many thanks for the developer's effort, I will wait for it.
I did manage to lose the drawn mask a few times until I got used to it, perhaps I right clicked twice in error?
was wondering if its possible to create a mask from a channel ?
hope you can
as this would be usefully for contrast and sharping etc in my work flow
sorry if I missed that
many thanks
Have a look: http://www.darktable.org/2012/03/upcoming-features-conditional-blending/ and http://www.darktable.org/2012/07/some-enhancements-to-conditional-blending/