
Pat David has a great blog on photoediting in GIMP. I recently read his post on luminosity masks and was fairly impressed. Can darktable do something similar? Yes – they’re a special case of parametric masks.
I thought I’d post a quick tutorial on luminosity masks using parametric masks. First, I strongly suggest you read Pat David’s post and thoroughly understand what’s going on.
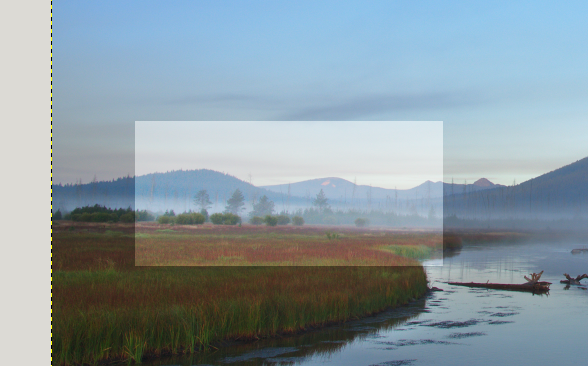
A quick and simplistic explanation follows: Normally, if we make a selection and, say, adjust the brightness dramatically in that selection, we get a sharp (and ugly) transition near the edge of the selection:
The quick solution is to blur the mask (feathering in GIMP). Feathering simply makes the transition less sharp:
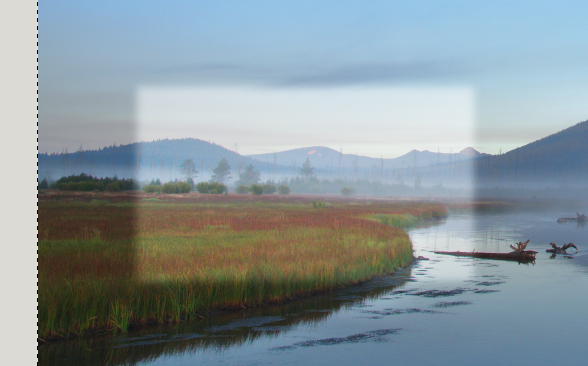
Better, but still too sharp a transition. You can feather it even more if you wish, but however much you feather it, the transition is determined too heavily by your choice of selection (a rectangle in this case). We’d really like is a way to select based on the actual contents of the image.
What luminosity masks do is let you select regions in your image in proportion to their brightness. So the L layer in Pat’s article fully selects completely bright pixels, and only partially selects pixels that are half as bright, and doesn’t select pixels that are not bright at all. When you now brighten the image, the effect of the brightening is greatest on the brightest pixels, and least on the darkest pixels. There are no sharp transitions like what I have in my screenshots above.
In that sense, some refer to these masks as self-feathering.
So how can we do this in darktable?
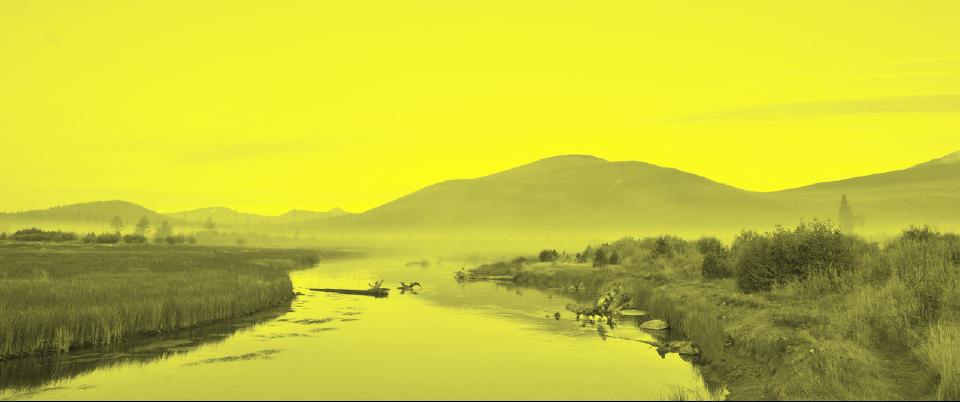
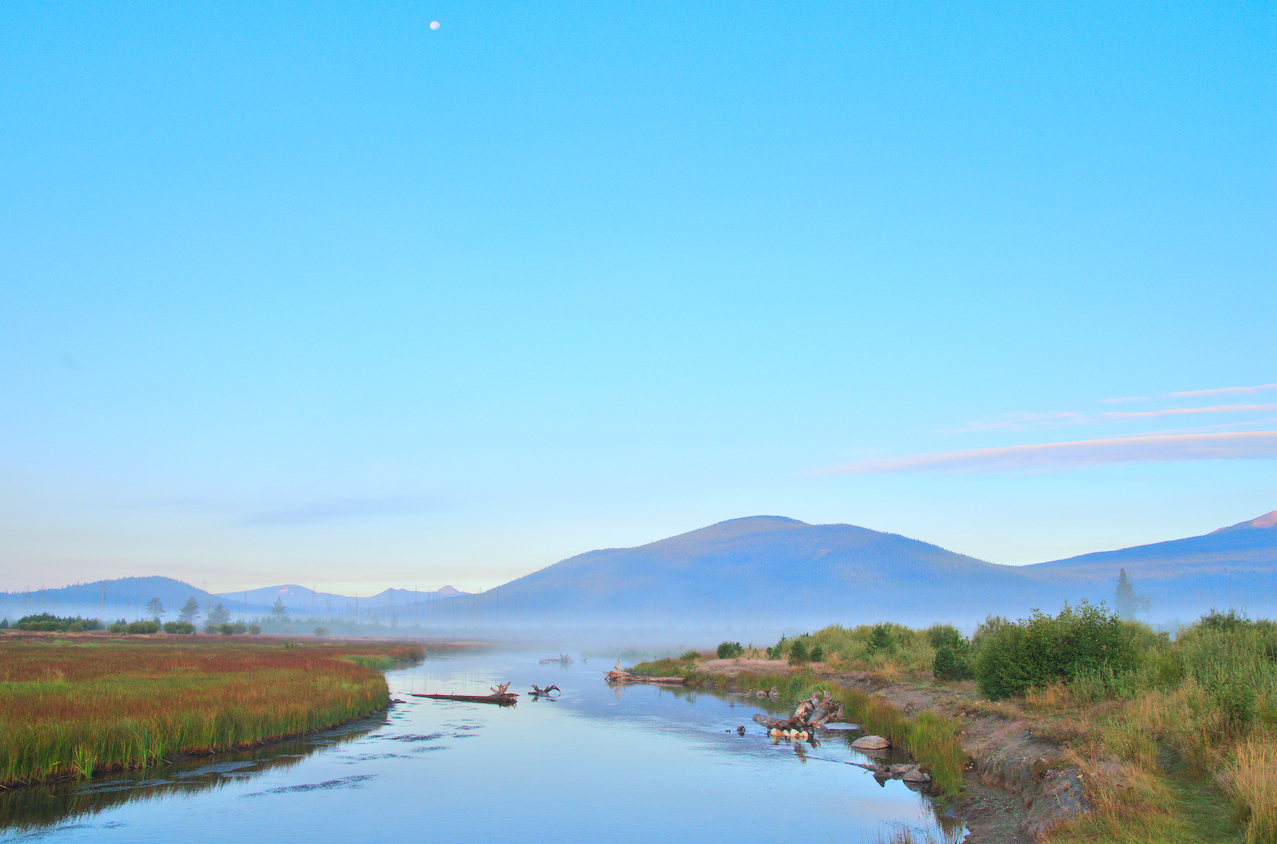
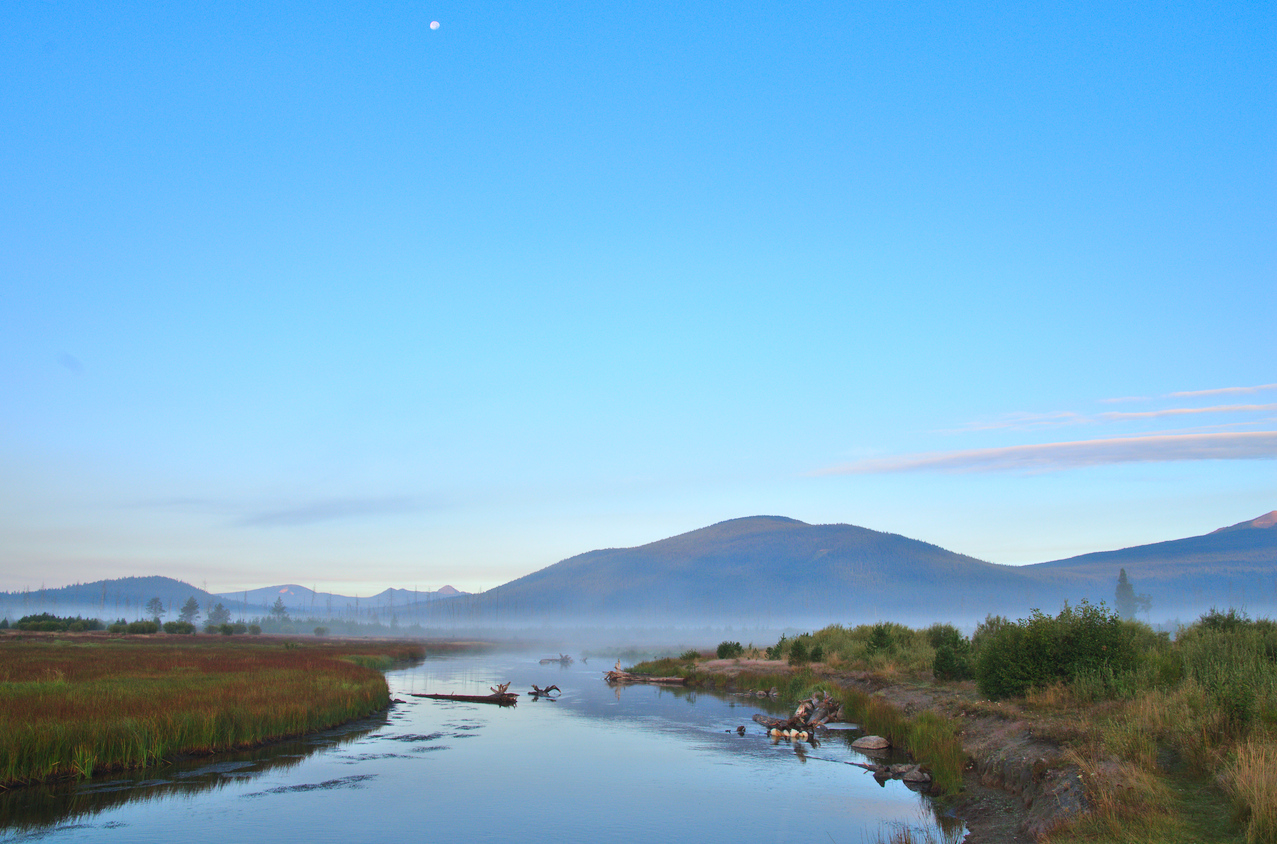
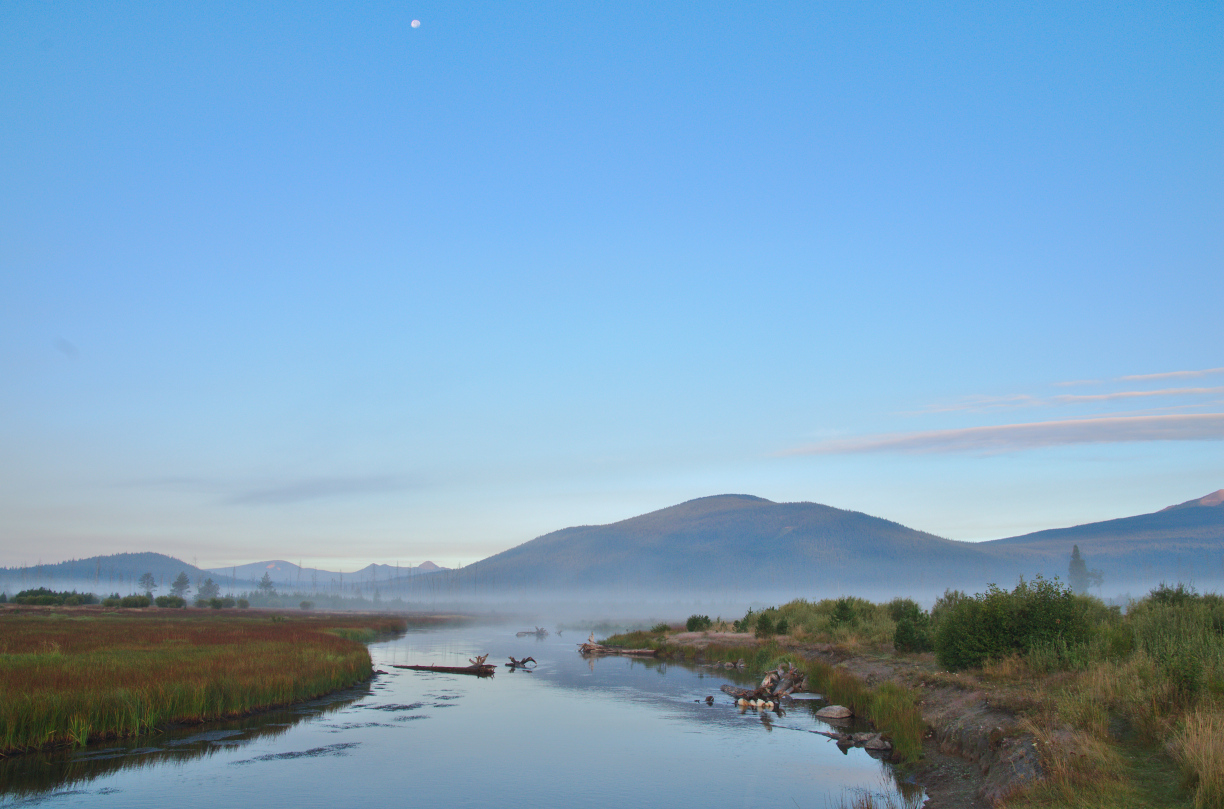
Consider the following image:
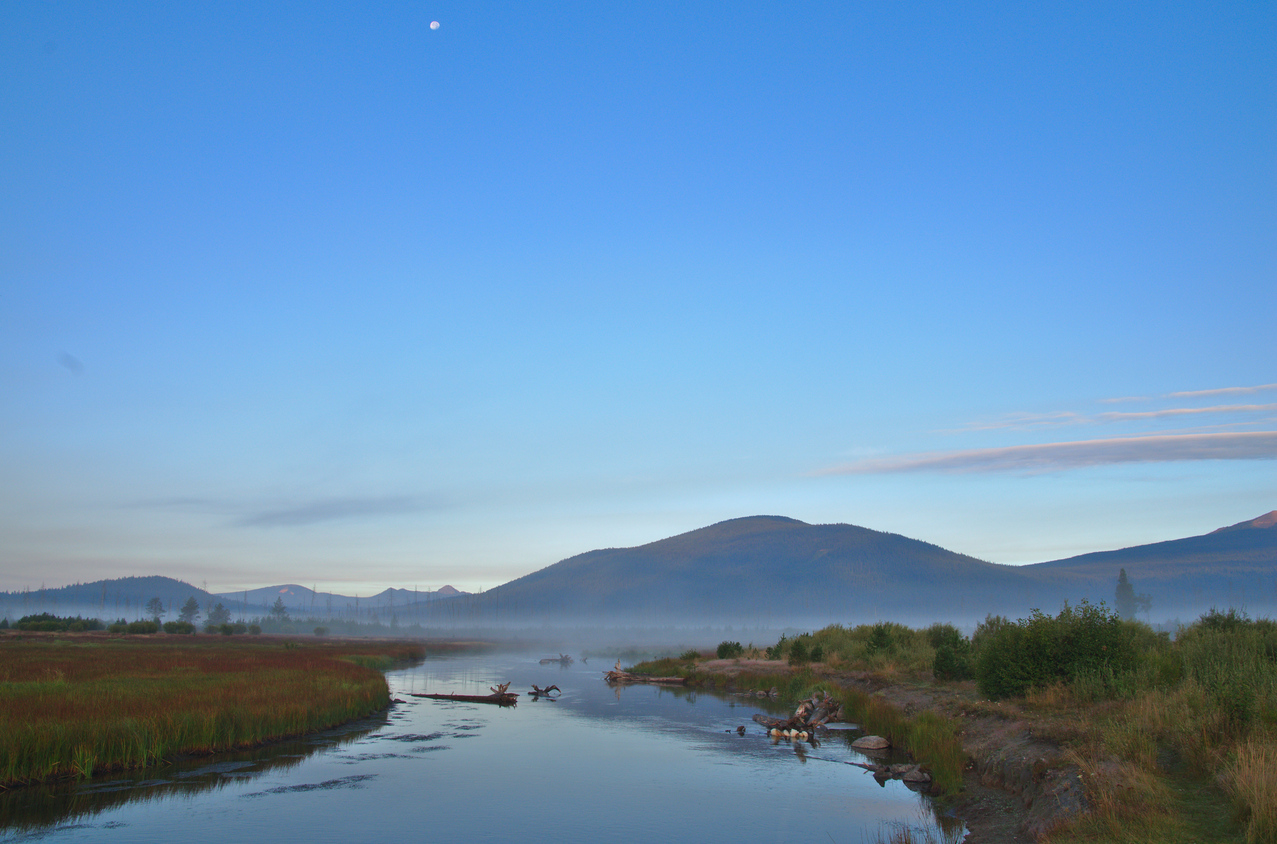
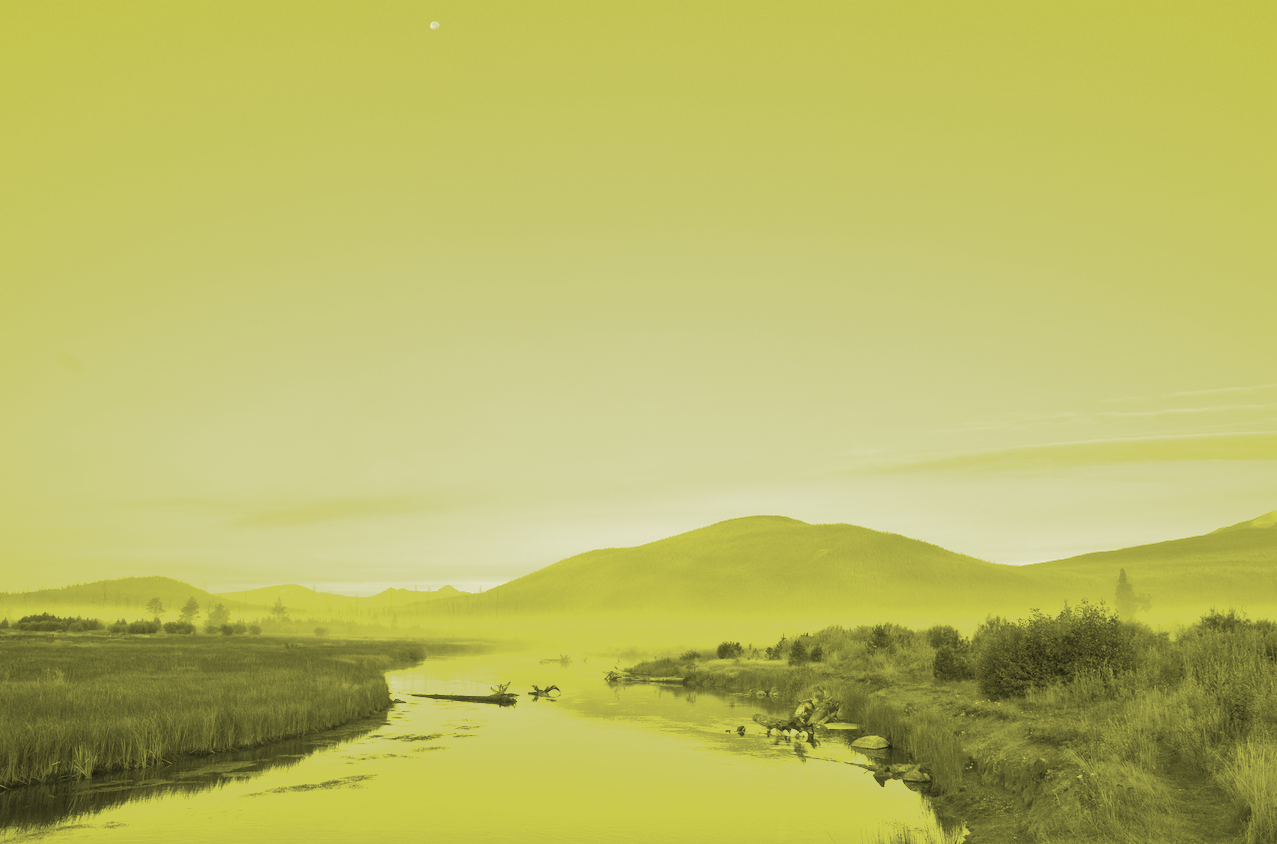
Let’s say I want to brighten it. Let me apply an aggressive curve:
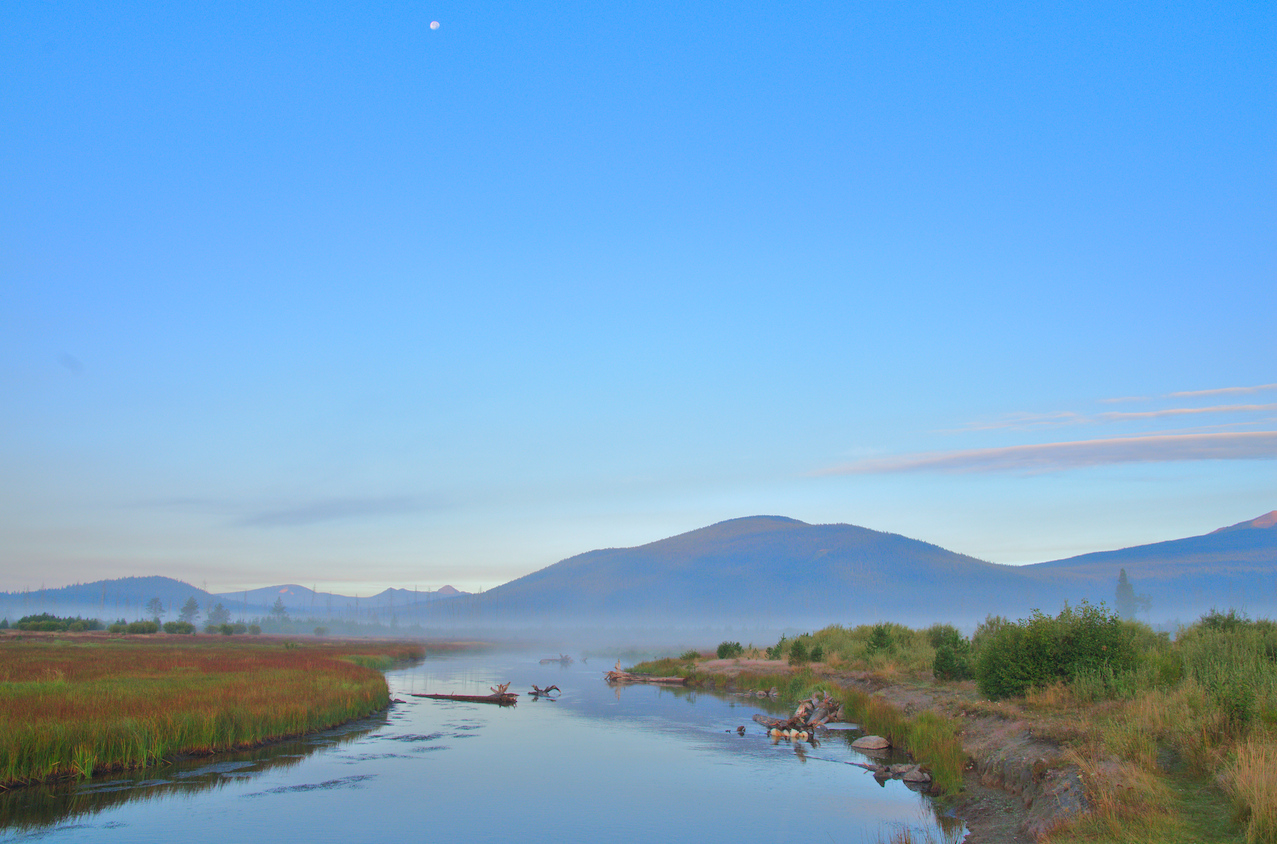
The result is:
Let’s use this as a “control” for the effect of luminosity masks.
The L mask
Using Pat’s technique, let’s look at the L mask in GIMP:
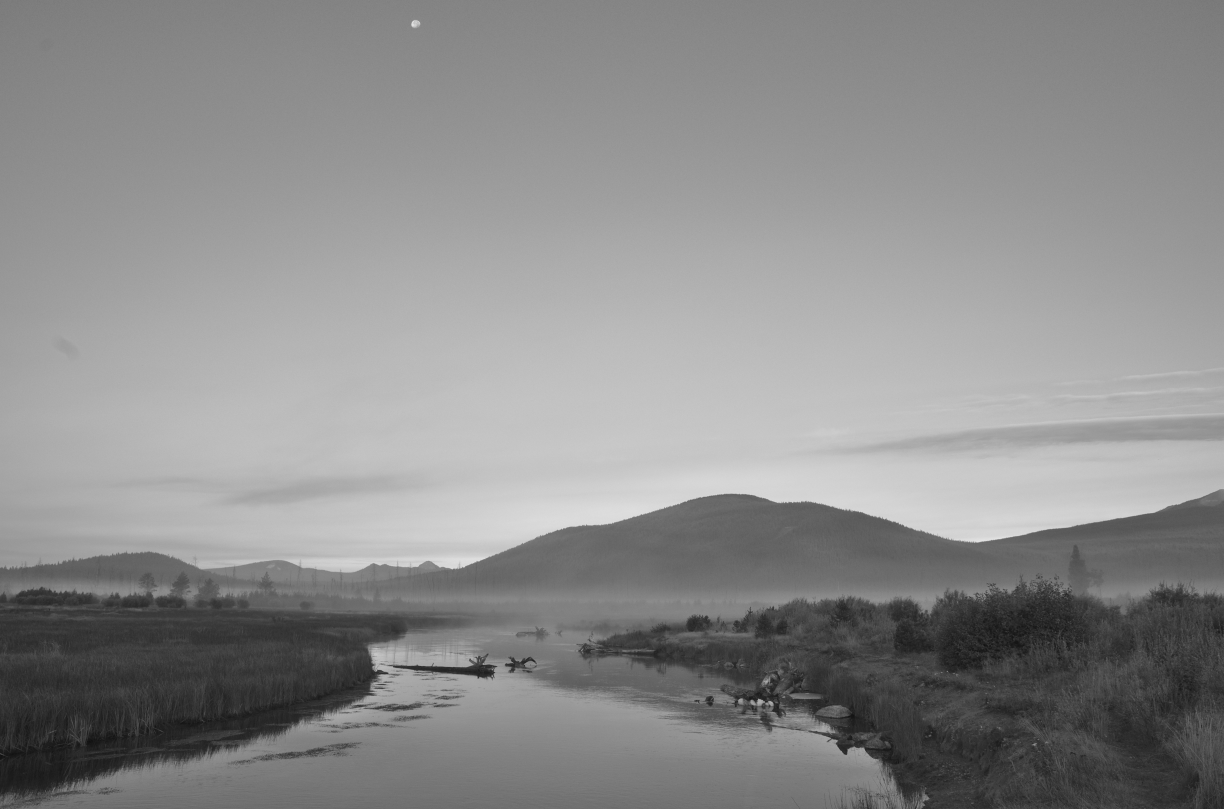
Brighter areas mean they are “more” selected. This means any operation we perform on the image will be applied more on the brighter pixels.
How do we get this in darktable?
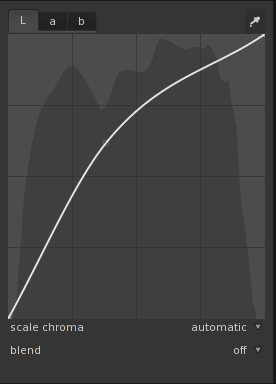
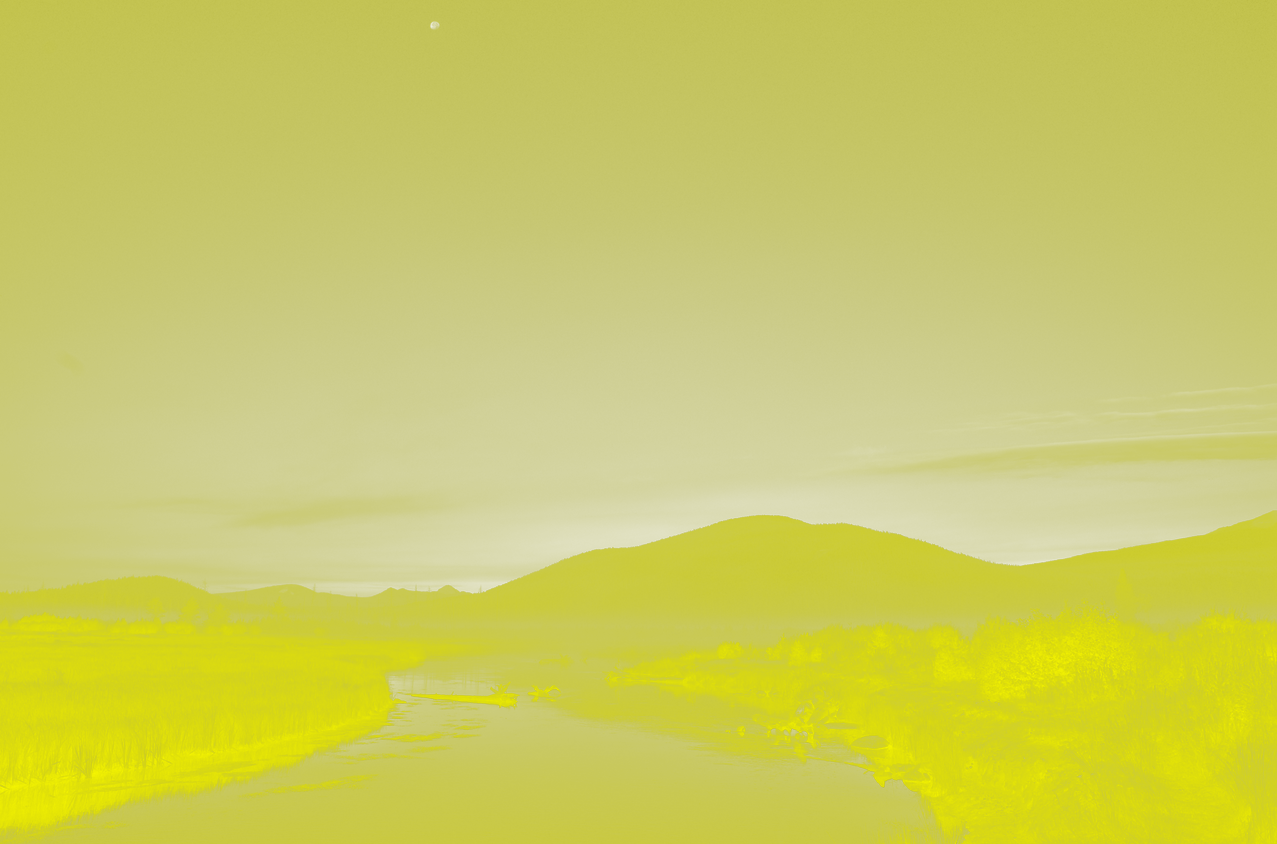
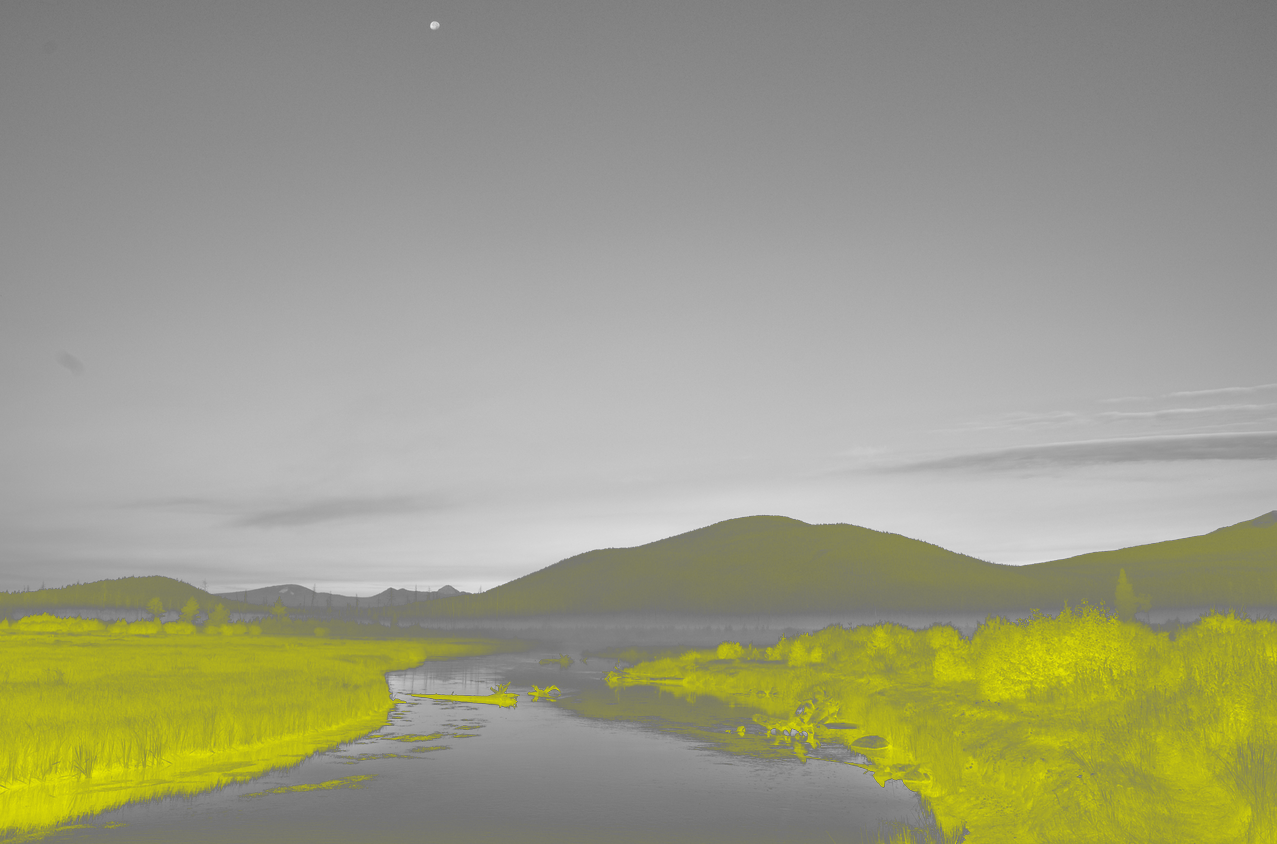
Go to the Tone Curve module, set blend to parametric mask. Now comes the important part: In the Input sliders, select the top left triangle and move it all the way to the right:

The resulting mask looks like:
What did I do here? To fully understand it, you should read the parametric masks page in the darktable manual. By sliding the upper left triangle all the way to right, I told it to fully select the brightest pixels, not select the darkest pixels, and do a linear interpolation for all the intermediate pixels (so a 50% bright pixel is “half” selected).
Another way of looking at it: Apply the module to all the pixels, but apply an opacity on each pixel depending on its luminosity.
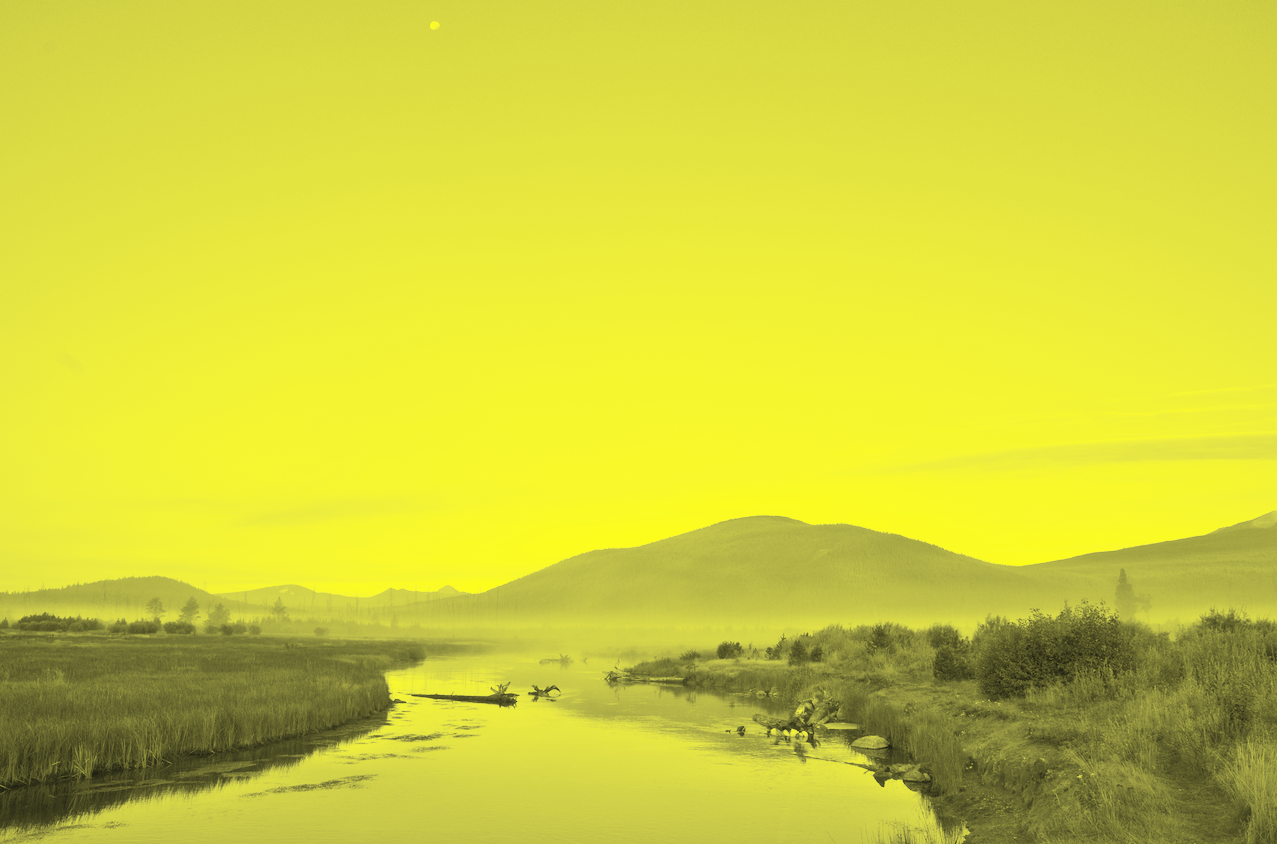
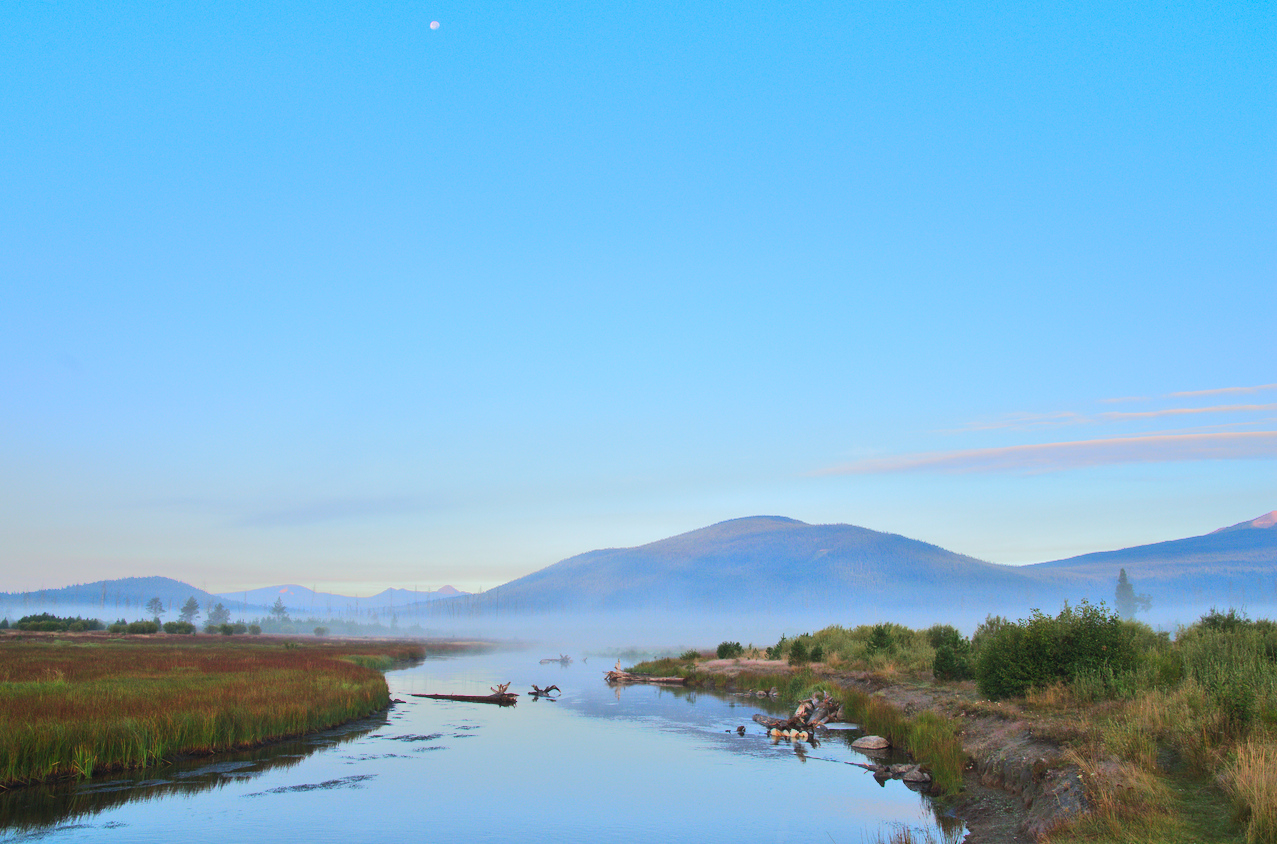
How does the image look with the same curve as before?
The D Mask
To create the D mask, Pat selected the whole image, and subtracted the L channel from it.
In darktable, we simply do the opposite of what we did for the L mask. We now move the top right triangle to the extreme left:

The mask now looks like:
The result of the curve:
The M Mask
What about medium? Let’s try:

Here we moved both the upper triangles to the center.
The resulting image is:
This is too strong! If I do the same using Pat’s luminosity masks in GIMP, I get:
This is not as strong as the darktable version. What went wrong?
If we read Pat’s description, what he does is intersect the D and L channels. This results in the middle bright pixel only being 50% selected. In our darktable version, we have it 100% selected. So we compensate by setting the opacity to 50% and we get very similar results to GIMP.
The resulting mask is:
The Other Masks
What about the DD mask?
This is obtained by subtracting the L channel from the D mask. The equivalent mask in darktable is:

This is the same as the D mask, but notice I moved the lower right triangle half way to the left. This has the effect that anything that is more than 50% bright will not be selected at all.
The resulting mask is:
If we wanted DDD, we’d move the lower triangle two thirds of the way instead of half.
Technical Details
Why did this work? Let’s jump into the math:
Let the luminosity of a pixel be denoted by $lp$. A value of 1 means fully bright, 0 means fully dark, and 0.5 means 50% bright. In the L mask, $lp$ gives the percentage selection directly (1 means fully selected, 0.5 means half selected, etc).
To get the D mask, we select the whole image (which means each pixel is fully selected), and subtract the luminosity from it. Thus, in the D mask, the “selectedness” is $1-lp$. So if $lp$ was very bright (close to 1), it is now barely selected, as $1-lp$ will be a small number close to 0. Similarly, if it was originally very dark (close to 0), $1-lp$ is now close to 1 and it is almost fully selected.
Does my darktable D mask translate to the same thing? Yes, as I believe darktable does a linear interpolation.
What about the DD mask? Pat obtained it by subtracting the L channel from the D channel. In terms of our equations, this is just $1-2lp$. Note that if $lp \geq 0.5$, (greater than 50% brightness), then $1-2lp \leq 0$, which means it is not selected at all. Only pixels less than 50% brightness are selected in this mask.
Again, my darktable DD mask translates to the same mask, as I cut it off at 0.5. Since darktable uses linear interpolation, the slope from 0.5 to 0 will be double the slope I had in D. Hence, the factor of 2 in $1-2lp$.
I’m assuming the M mask translates as well but I’m not 100% sure what the algorithm GIMP uses to perform intersection.
Summary
So there you have it: Luminosity masks in darktable.
But we do not need to constrain ourselves to the “usual” luminosity masks. We can fiddle with the triangles a little more to get many different kinds of masks. Moreover, our masks need not merely be luminosity masks. We can apply this logic to the hue, a and b channels (or R, G and B channels for the modules that work in RGB space). Or do a combination of both! Usually when I have mask, I couple luminosity with one of the color channels for a more refined selection.
The important message, though, is that we can easily avoid sharp transitions by varying the upper and lower triangles independently.
For more on luminosity masks, I strongly recommend Tony Kuyper’s tutorials.
An earlier version of this article appeared here.


You do both things very well - thanks for sharing!
I've been reading up for a while about this Luminosity Mask method, and have yet to use it in anger (maybe next week I'll give it a go in Gimp) but the main thing is that articles online about Luminosity Masks (either in Adobe products or in Gimp) usually show it as a way to subtly improve multiple exposures of photos as layers by blending them once masked and adjusted. I suspect that this can't be done in Darktable due to not having the ability to load multiple photos into one 'shot' to manipulate. However, would something similar be possible using a single photo with multiple 'instances' of masks?
I'm just unsure of how best to make use of your excellent article. Any further advice would be of great interest to us all, I'm sure. Thank you.